¶ XCP Conversion
This document is a supplement to the NACVIEW Installation Manual. It presents the steps needed to run the NACVIEW system in virtualized environments based on the XCP-ng system. This allows a simple and trouble-free installation of the system in the existing infrastructure.
The applicable requirements are:
- downloaded image of the NACVIEW system for ESXi,
- free space for XCP-ng in the standard amount.
¶ How to run NACVIEW in XCP-ng based environments?
1. Log in to XOA. From the menu on the left, select Import and then VM.
2. Upload the NACVIEW image to XOA, and then adjust the amount of RAM and vCPU and connect the network interfaces to the appropriate networks on XCP-ng.
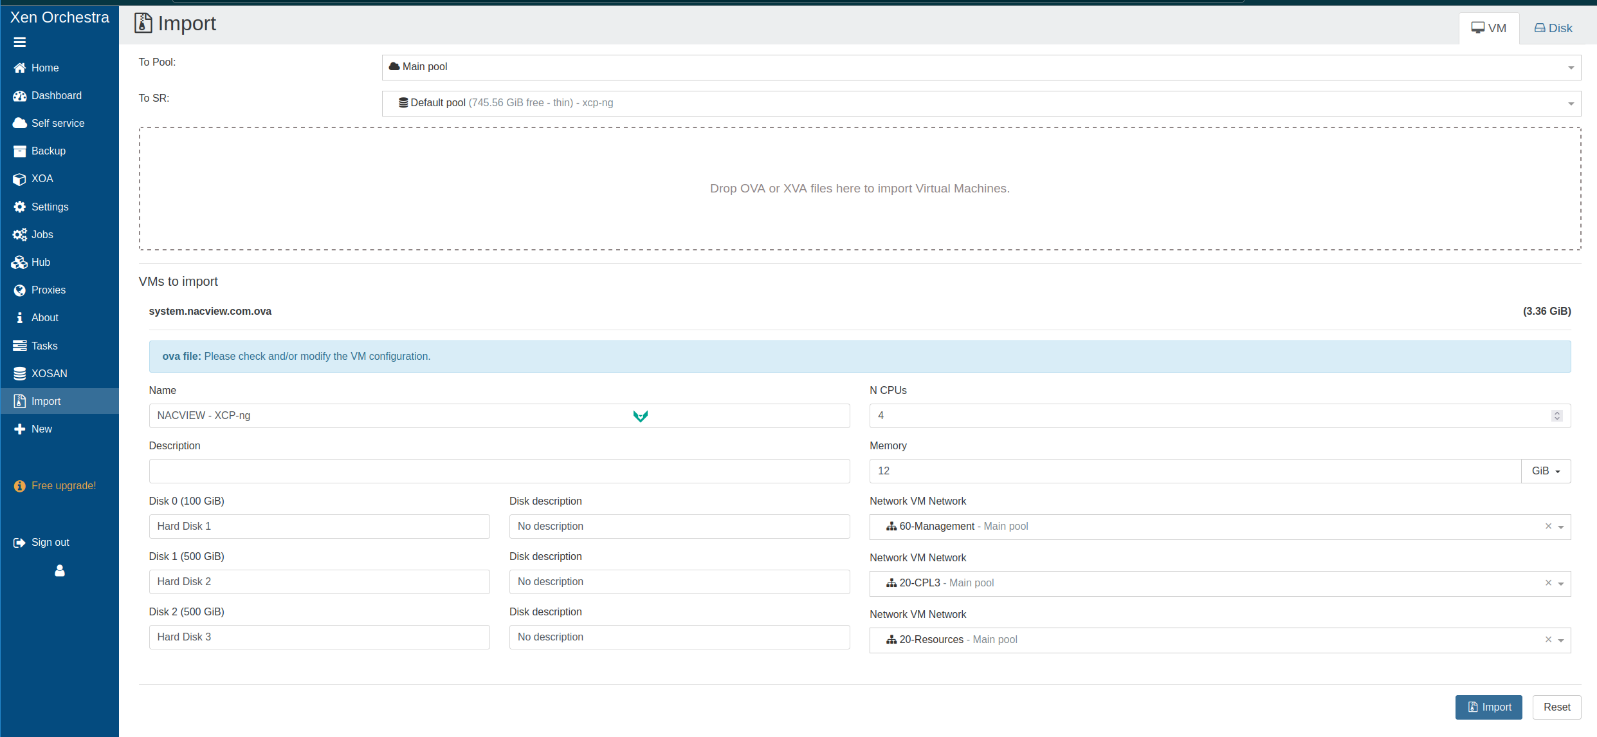
3. After the import is complete, XOA will automatically switch to the virtual machine view. Go to the virtual machine settings in the Advanced tab.
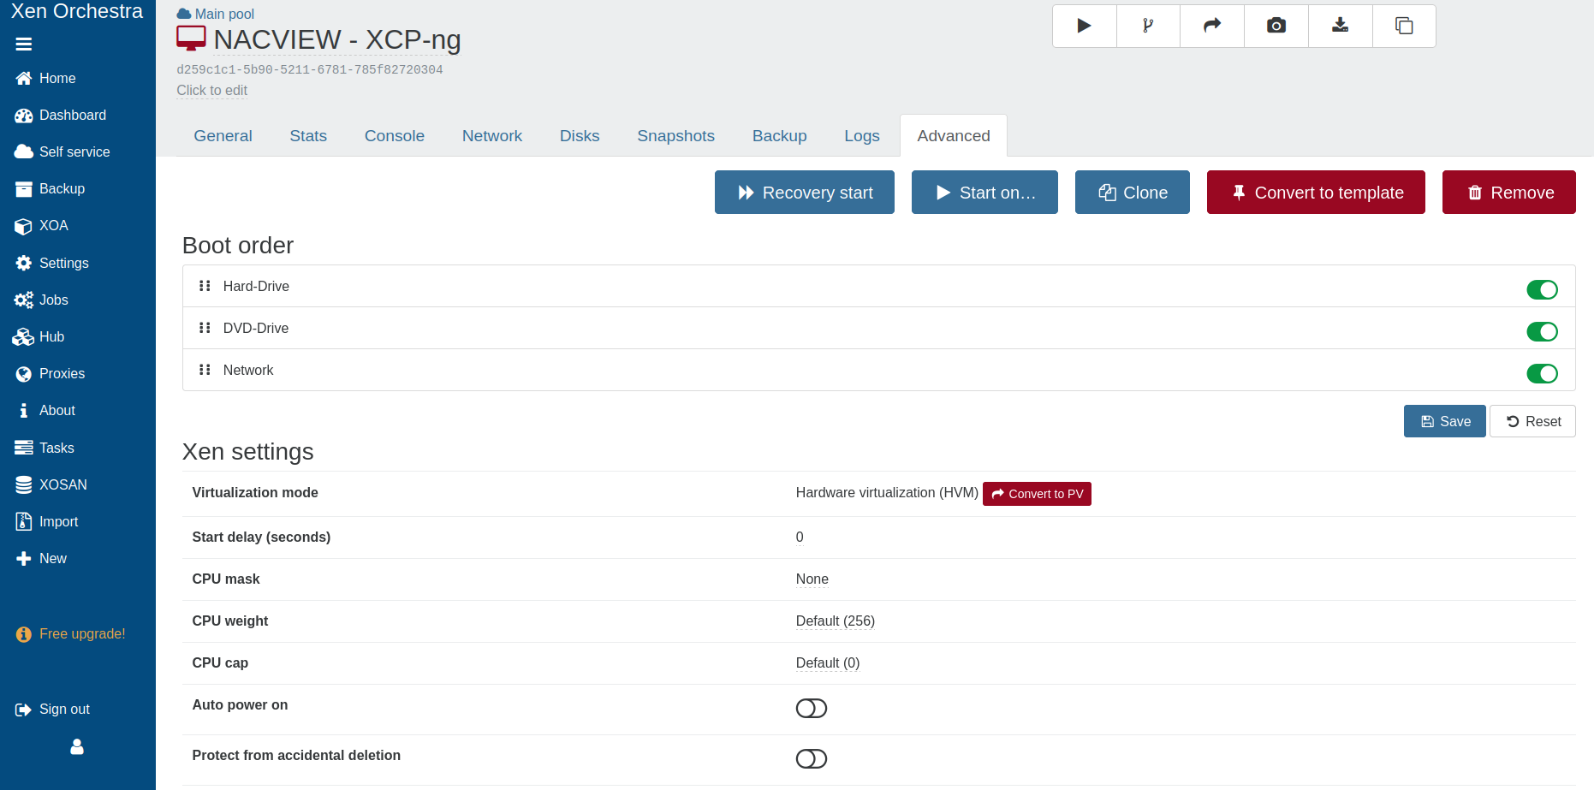
4. Modify the virtual machine configuration by disabling the Network and DVD-Drive options in the Boot order section. Optionally, in the Xen settings section, you can enable the following options: Auto power on, Protect from accidental deletion and also: Protect from accidental shutdown.

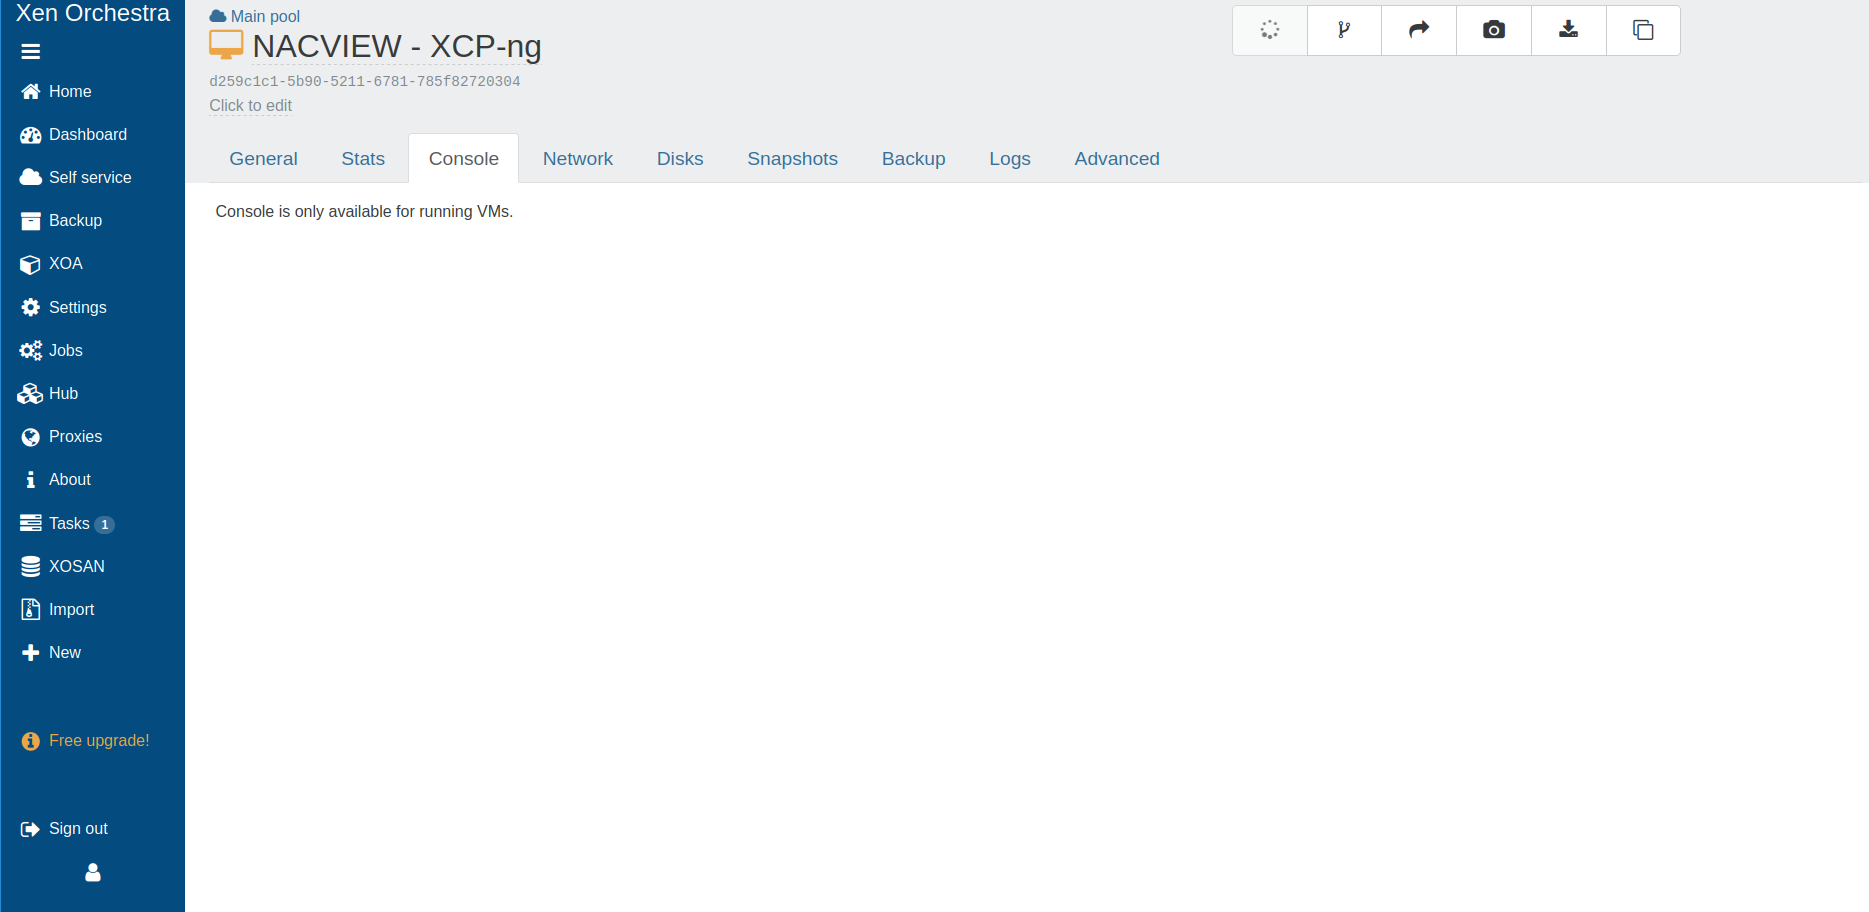
5. Go to the Console tab now and start the virtual machine.
6. When the so-called boot menu appears, select: rescue.
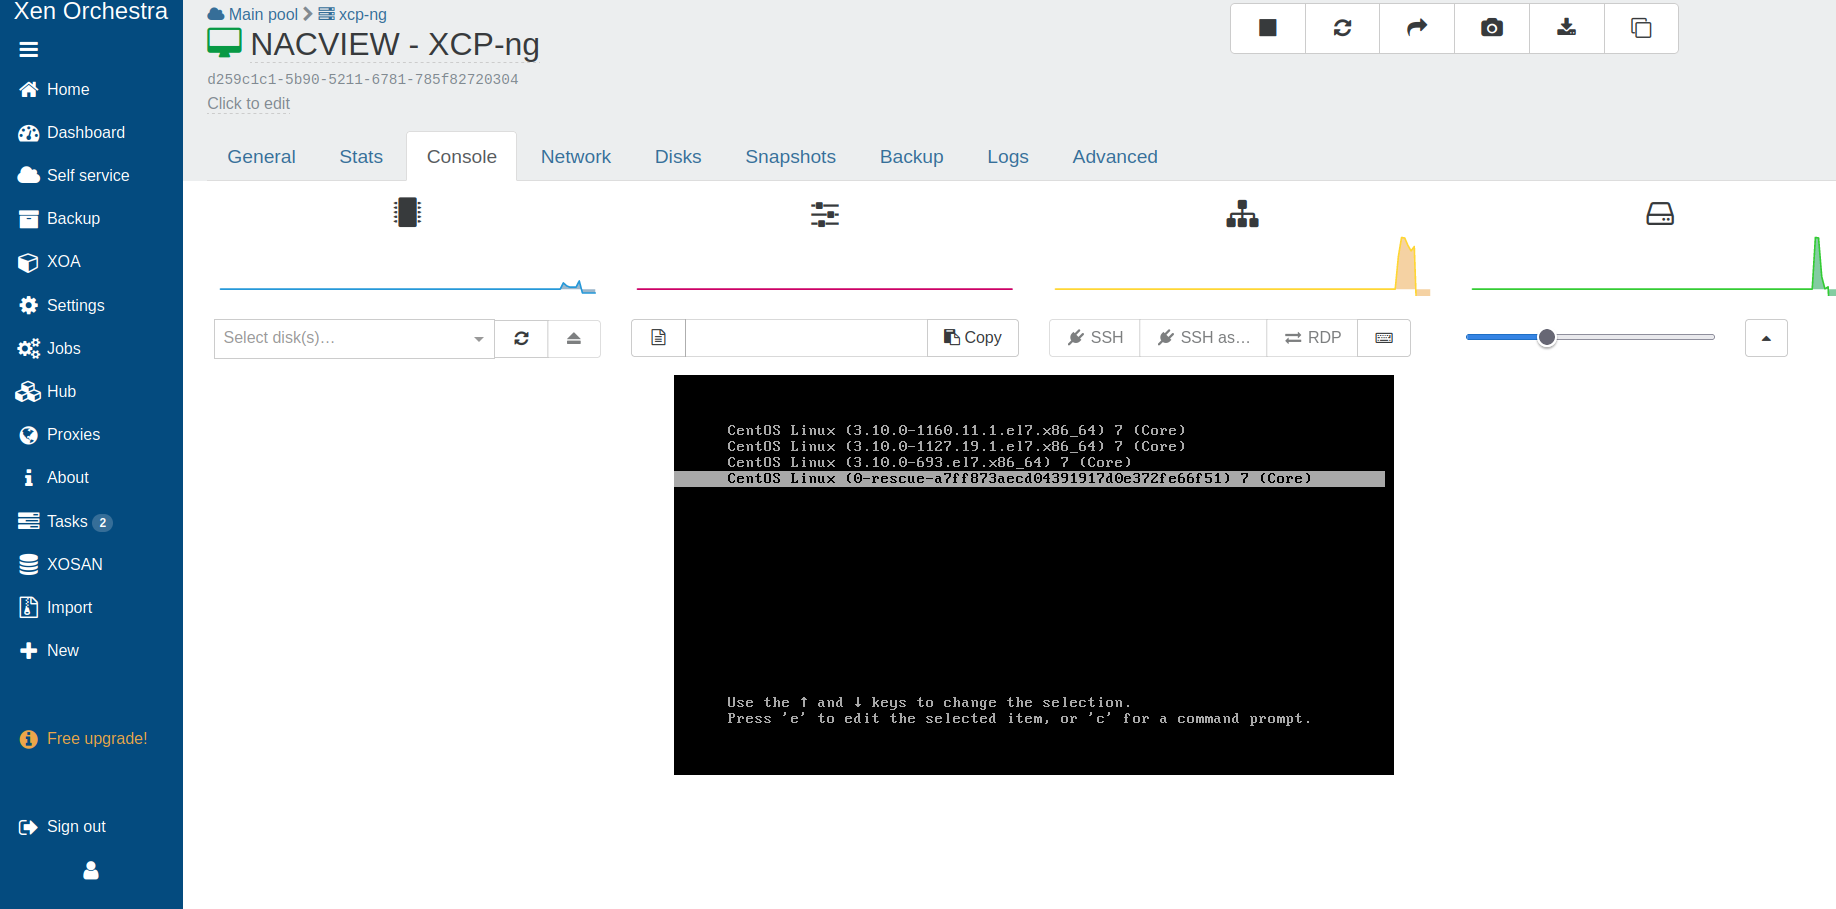
7. The NACVIEW system should start. Now configure the basic parameters (as in the NACVIEW Installation Manual in the CLI Installer section).
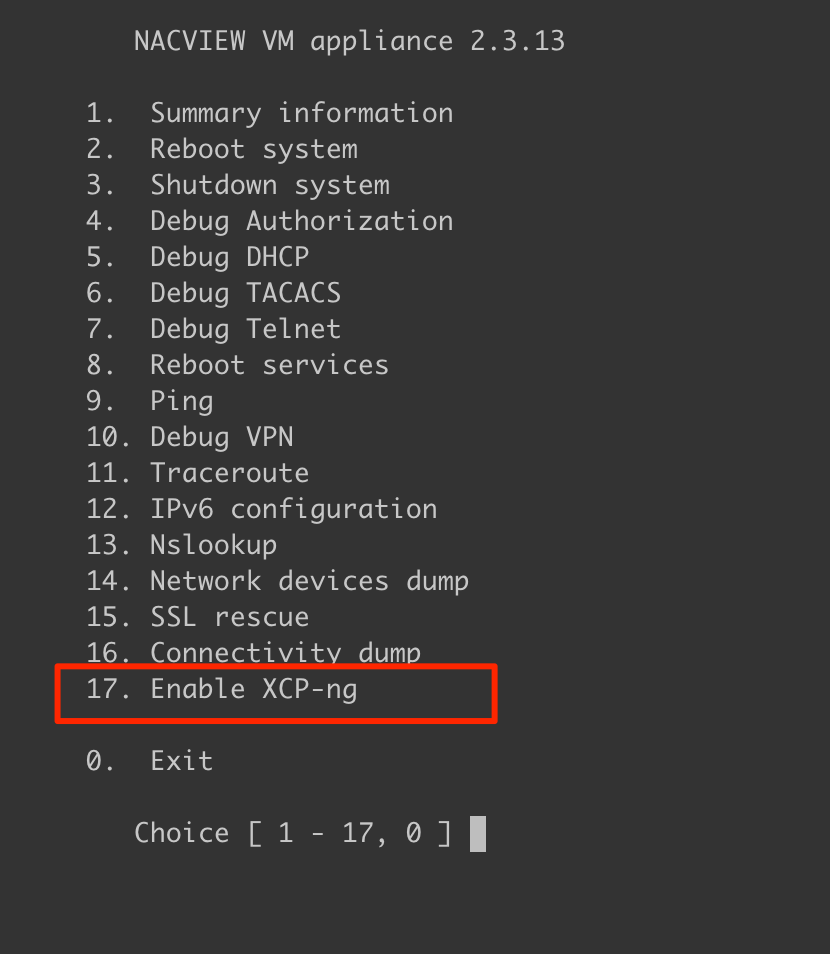
8. Staying in the CLI installer, go to the Maintenace submenu and select option 17 (Enable XCP-ng). After the machine restart, the system will be ready to work.
9. Proceed further with the installation according to the NACVIEW Installation Manual (from the part called the Web Installer).