¶ Windows 10 | Wired network | TLS authorization (certificate)
1. Download the certificate.
2. Run the Certificate Import Wizard by double clicking on the downloaded file.
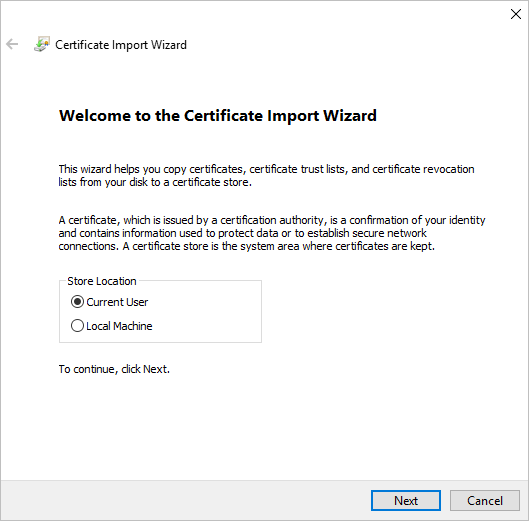
3. Click the Next button in the two following windows.
4. Complete the Password field by entering the key down for the certificate.
5. Make sure the Enable strong private key protection (...) option is unchecked and go to Next.
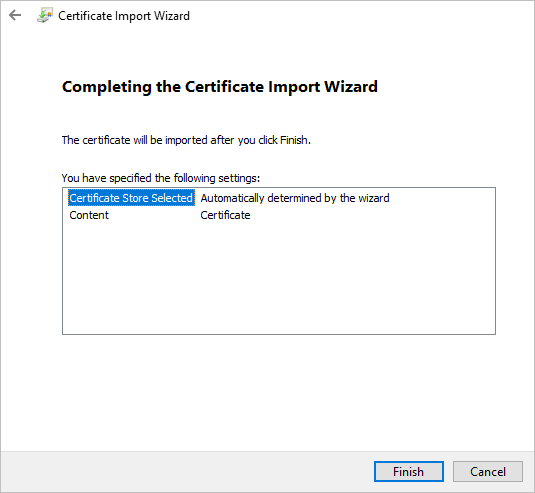
6. Select the Automatically select certificate store based on certificate type option.
7. Proceed to Next again and click Finish.
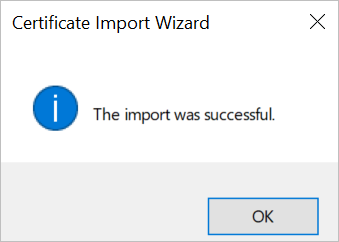
8. After the import completes successfully, click OK.
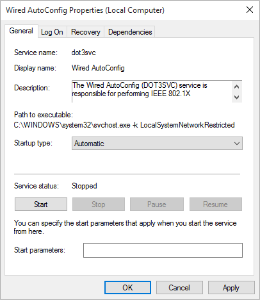
9. Search the Services application on the system and open it.
10. In the list of services, find Wired AutoConfig and double click this.

11. In the displayed window, in the Startup type field, select Automatic.
12. Click the Start button and confirm with OK.
13. Search the Network and Sharing Center (Control Panel> Network and Internet> Network and Sharing Center).
14. Select Change adapter options from the left bar.
15. Right-click on the wired network you want to configure and enter: Properties.
16. In the displayed window, go to the Authentication tab.
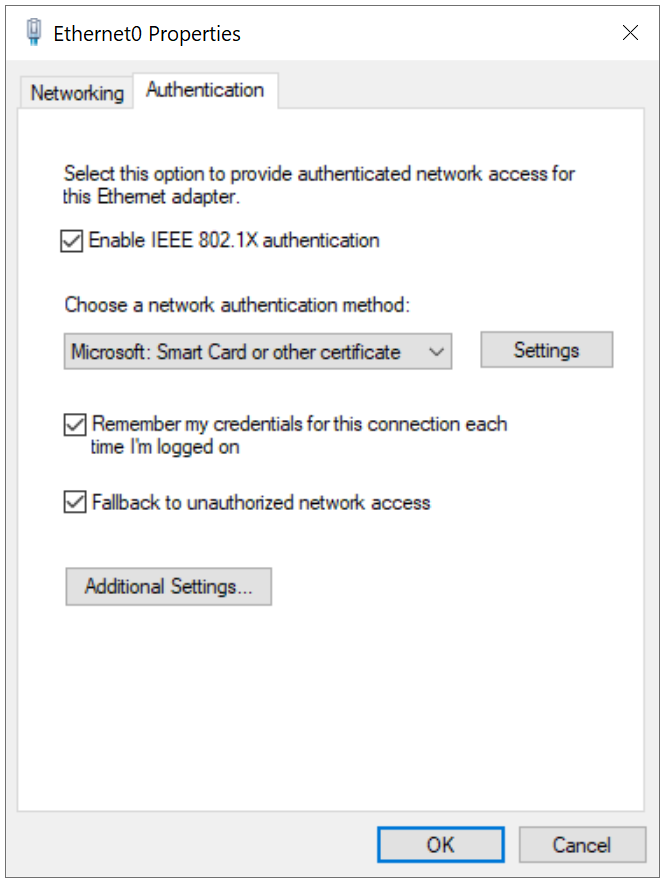
17. As the network authentication method, select Microsoft: Smart Card or other certificate.
18. Go to the Settings and select: Use certificate on this computer and: Use simple certificate selection.
19. Confirm the changes by clicking OK in all windows and connect this to the configured network.