¶ Windows 11 | Wired network | PEAP authorization (login and password)
For the proper PEAP communication, it is recommended to import and install the main CA certificate on the computer.
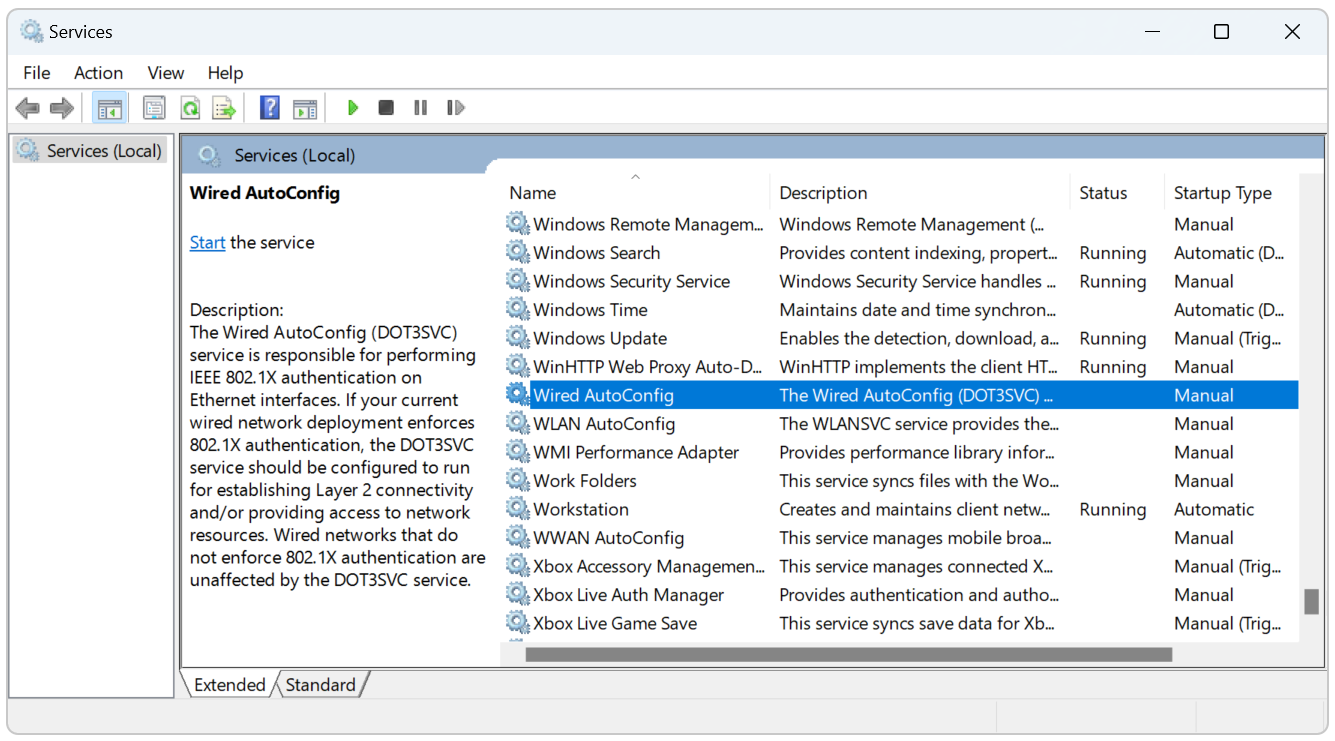
1. Search the Services application in the system and open it.
2. In the list of services, find Wired AutoConfig and double-click it.
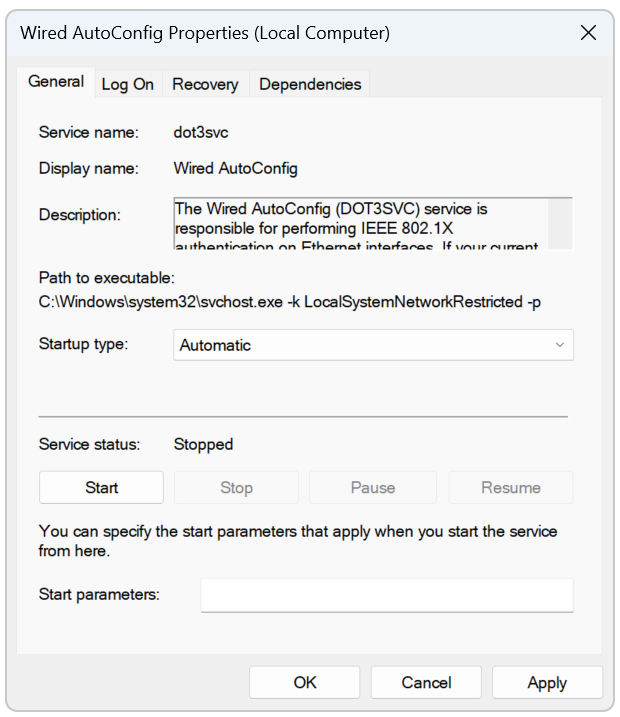
3. In the displayed window, in the Startup type field, select Automatic.
4. Click the Start button and confirm with OK.
5. From Windows main menu click the Settings > Network & internet > Advanced network settings > More network adapter options.
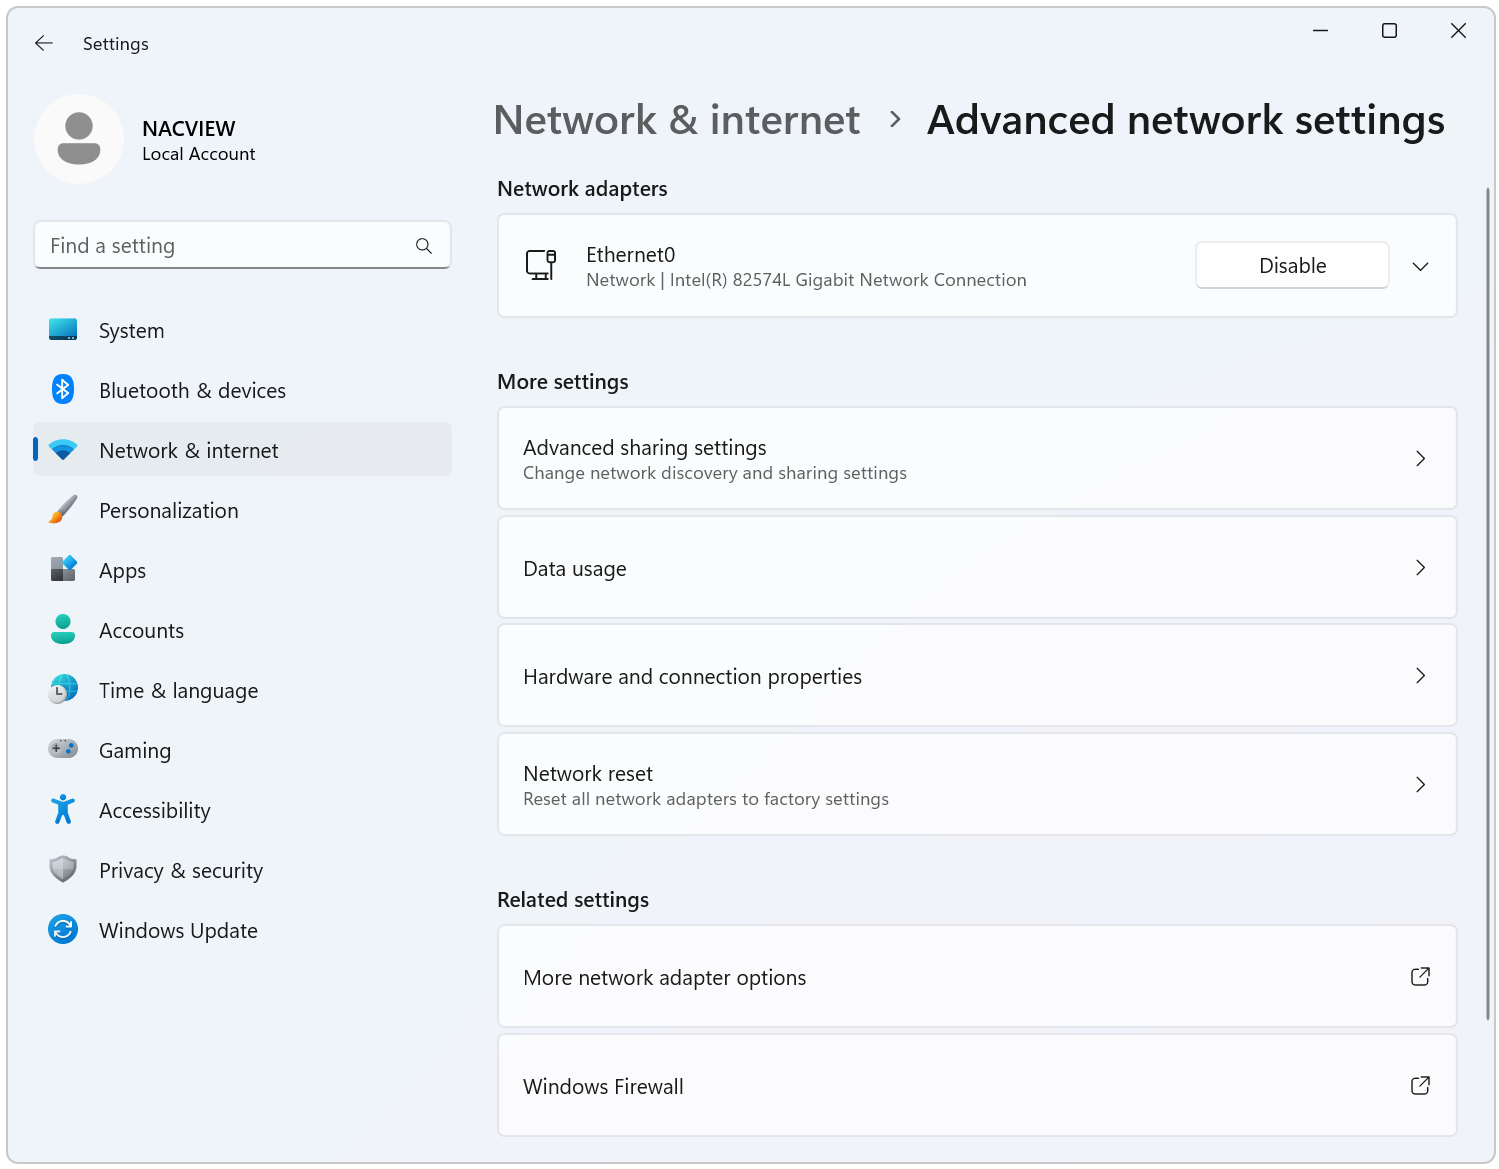
6. Right-click on the wired network you want to configure and enter its Properties.
7. In the displayed window, go to the Authentication tab.
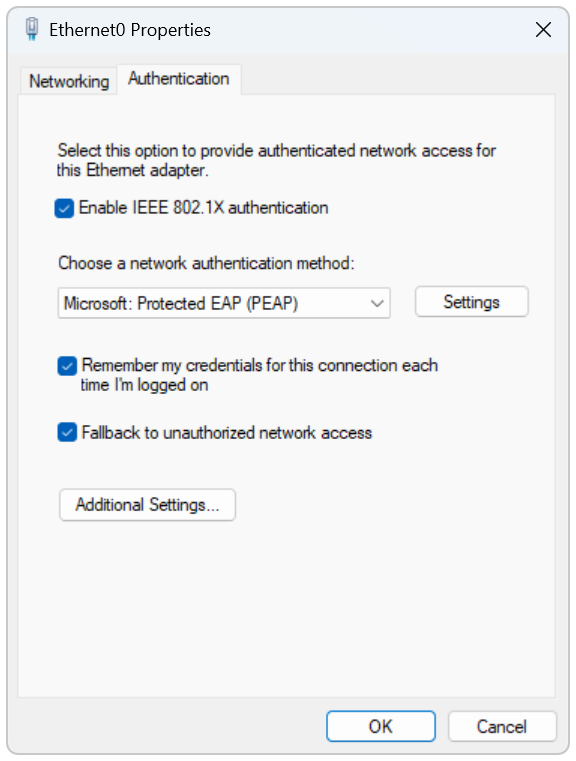
8. As the network authentication method, select Microsoft: Protected EAP (PEAP) and click the Settings button.
9. In the next window, set the fields again as shown below... but you should know that...
With the release of the new Windows 11 operating system, the way how to verify server certificates has changed. A more restrictive policy of validating the server name compatibility with the information, contained in the certificate, has been imposed. On Windows 10 systems, the value from the Subject field is used for comparison, whereas on Windows 11, this value is in the Subject Alternative Names field.
When generating the server certificate we recommend that you configure the name settings in the Subject field and the Subject Alternative Names field. This will allow you to create a universal verification mechanism for both Windows 11 and Windows 10 systems working correctly. In some networks it may also be a good idea to add additional IP addresses as alternative server names. On the supplicant’s side, it is also possible to use the appropriate option to select a previously installed certificate and choose the server name verification option by entering the required name in accordance with the format in the system prompt.
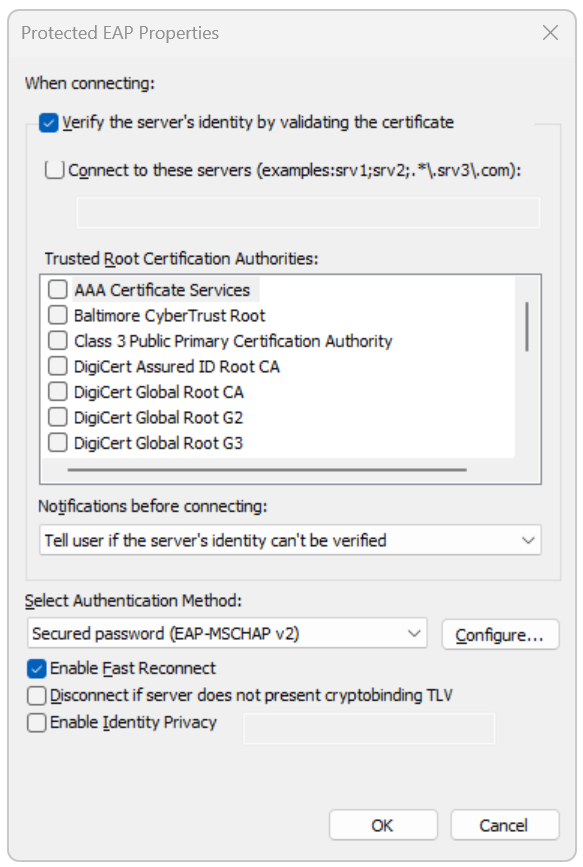
10. Click the Configure... button and uncheck Automatically use my Windows login name and password (and domain if any).
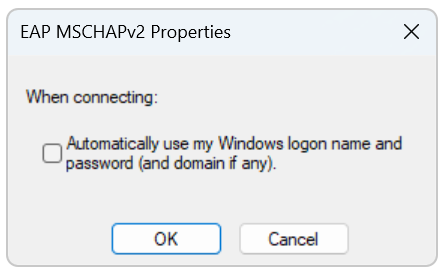
11. Confirm with the OK button.
12. Confirm again with the OK button.
13. Go to Additional settings...
14. Select Specify authentication mode and select User authentication from the drop-down list.
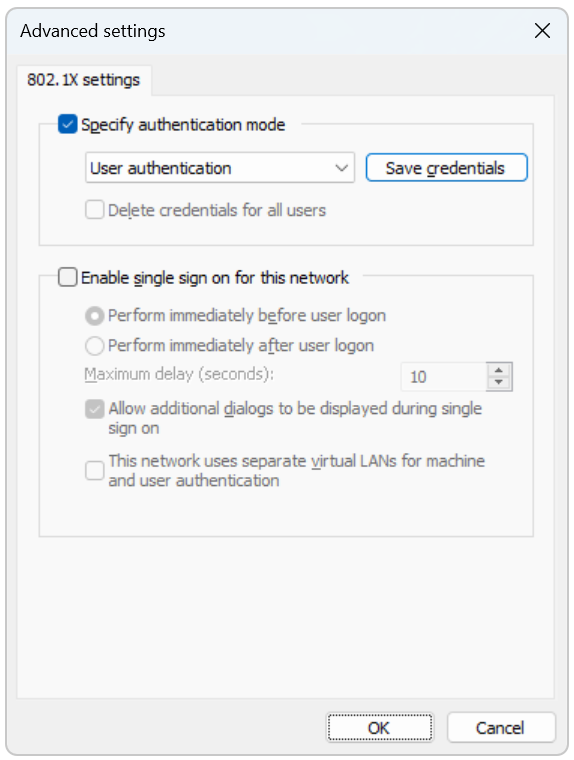
15. Click the Save credentials button.
16. In the displayed window, enter your username and password.
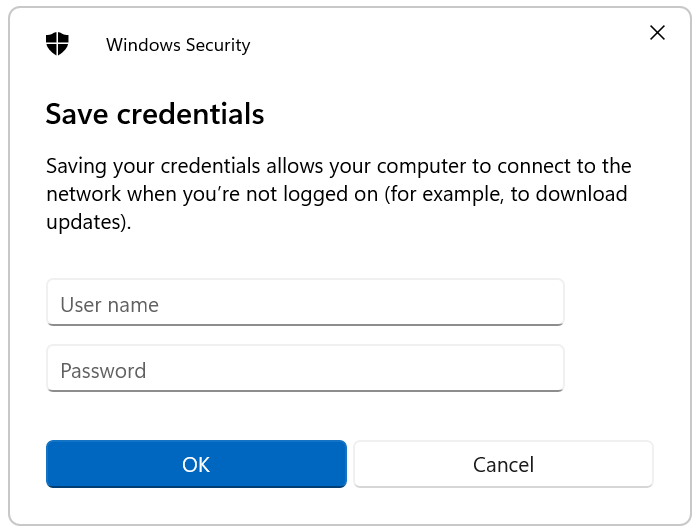
17. Confirm with OK all your open windows. Now you can connect it to the network.