¶ Captive Portal NACVIEW
Captive Portal is a safe and configurable network authentication method. It allows your full protection against improper use of network access and excessive network traffic due to the possibility of applying bandwidth restrictions.
The correct configuration of Captive Portal in the NACVIEW system will result in the users being redirected to the page where they will be asked to enter data for authentication. After the successful authentication, they will gain access to the desired URL and other network resources, in accordance with established access policies.
The following instruction refers to the configuration of the internal service of the NACVIEW system. If you want to learn how to configure the Captive Portal built into your network devices, please refer to the Captive Portal (External) document.
¶ How to configure support for the Captive Portal of the NACVIEW system?
It can be done in a few simple steps as follow below.
¶ 1. Subnet and VLAN
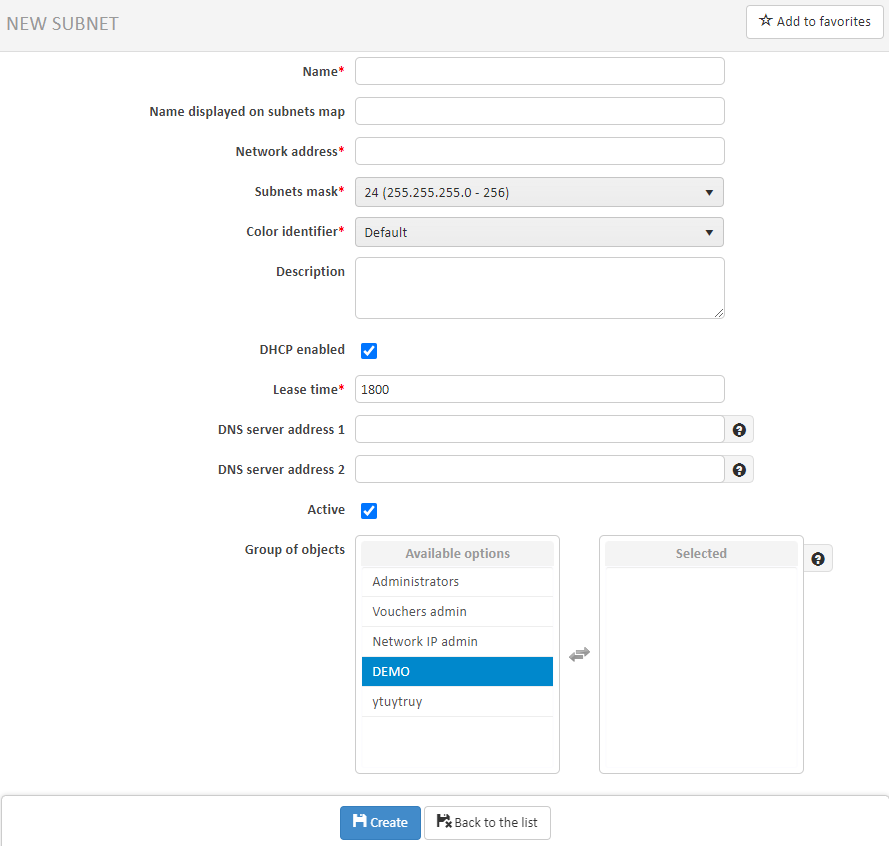
1.1. Select Network IPv4 from the NACVIEW main menu.
1.2. In the window that appears, click: +Create new.
1.3. Complete the form and then save your set values.
1.4. Go to the list of VLANs (Menu > Network section > VLANs) and click Create new.
1.5. Complete the form by selecting the subnet created in the previous steps in the Subnetworks field.
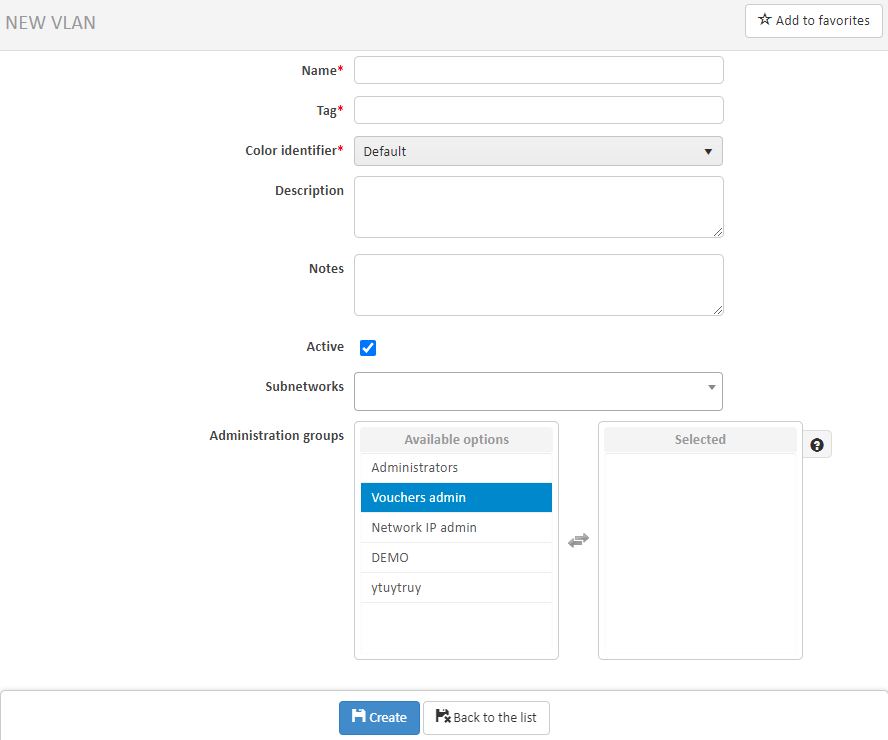
1.6. Save the set values.
1.7. Return to the window with the list of subnets and find the last added subnet (it should be at the end of the list by default).
1.8. Click the button in the line of this subnet.
1.9. In the window, that appears on the right, click IP graphic view.
1.10. Select all visible addresses, expand Group actions and select: Make dynamic assignment, and then confirm with Execute.
1.11. Go back to the list of subnetworks by clicking Go back to subnetwork and then Back to the list (upper right corner).
1.12. Click the button in the line of the added subnet and, from the expanded list, select Edit.
1.13. Expand additional form fields by clicking +DHCP (lower left corner).
1.14. Set these parameters:
- DHCP enabled: YES (checked)
- Lease time: 30 (set a short lease time)
- DNS server address 1: enter the gateway address of the configured subnet
- monitoring DHCP: YES (checked)
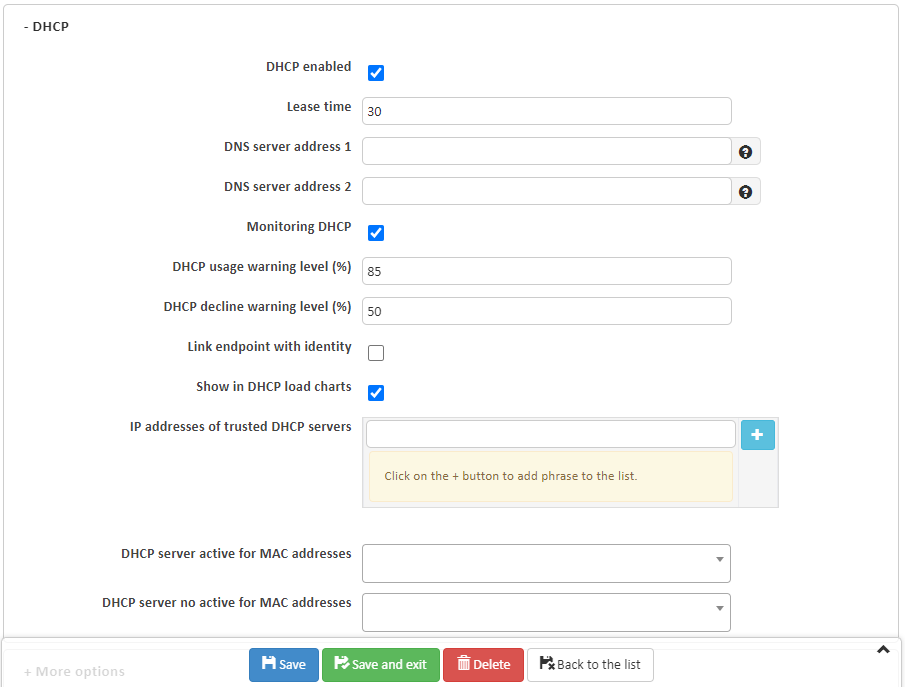
1.15. Complete the rest of the fields as you wish, and then save your set values.
1.16. Configure the VLAN added in the previous steps on the MASTER machine on the second network card.
¶ 2. Access policies
2.1. From the main menu, select Access Policies (Configuration section) and click Add policy.
2.2. In the form that appears, enter the following data:
| Form Fields | Value |
|---|---|
| Authentication method to the network | MAC |
| Action | VLAN access |
| Whether to send back the VLAN number | x (checked) |
| VLAN | select the VLAN you want to give access to from the List |
| Local CaptivePortal | x (checked) |
2.3. Complete the rest of the fields with values appropriate for the adopted policy. Save the set values.
You can add any number of policies for Captive Portal. However, remember to complete the fields from step 2 with the values from the table in each of them.
2.4. For the changes made to the access policies to take effect, press the Install List button.
¶ 3. Captive Portal
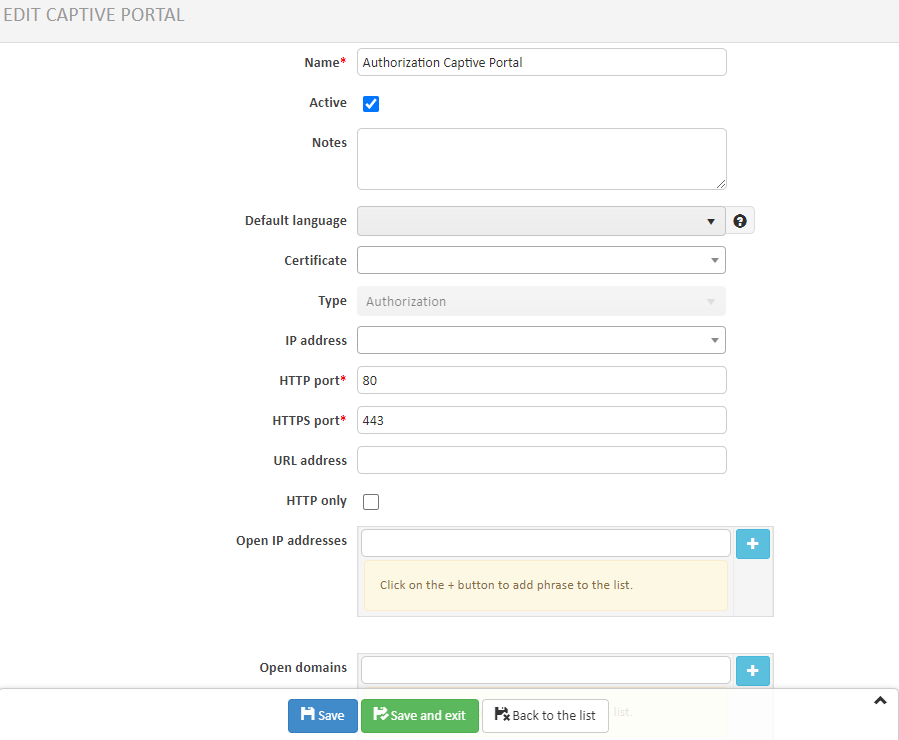
3.1. Select Captive Portal from the main menu (Configuration section).
3.2. Click the button in the line of the authorization portal and select Edit from the expanded list.
3.3. In the IP address field add the subnet created in the 1st step.
In the Captive Portal in NACVIEW you can also configure authorization via social networks (Facebook and Google) and equally as well- via a sponsor. The instructions on how to do this can be found on our website.
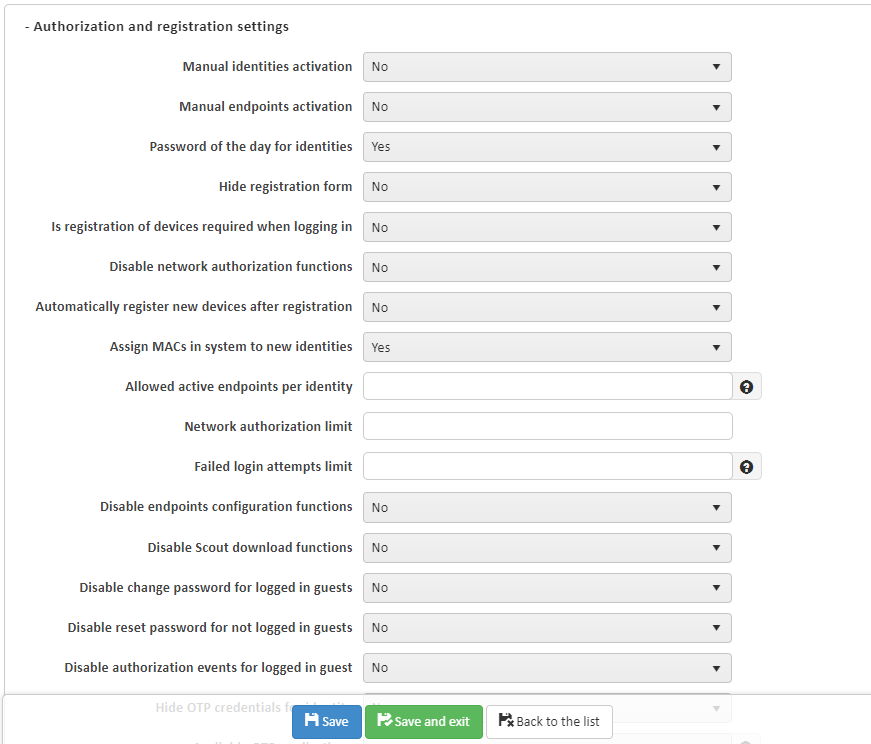
In the lower left corner of the Captive Portal edit form, there are three more drop-down lists with additional fields. Click Login and Registration Settings to edit user authorization options.
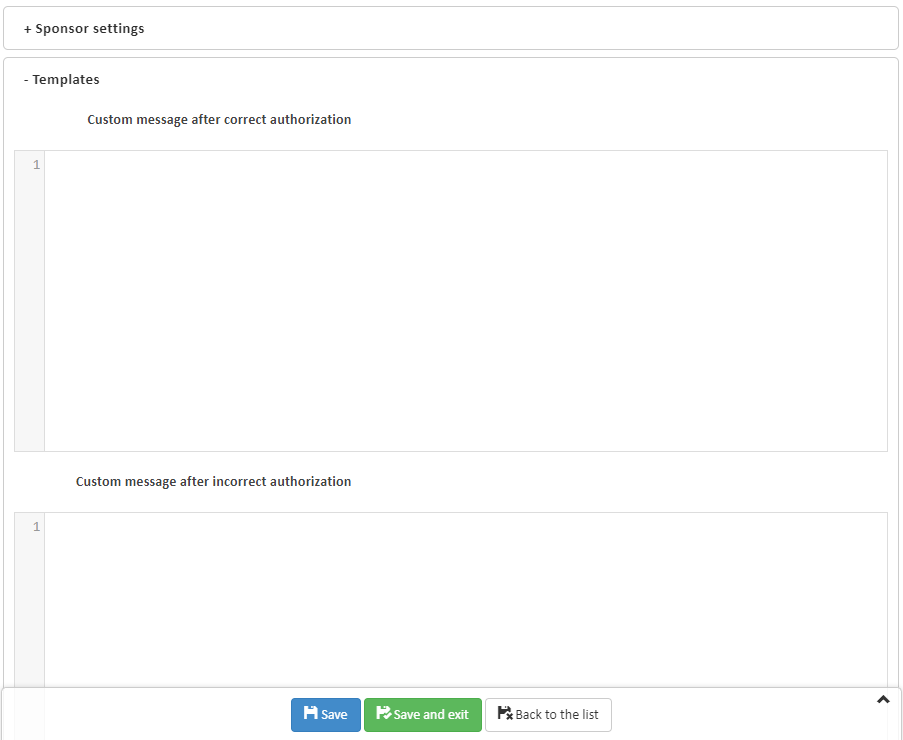
After clicking on Portal appearance (lower left corner of the form), the editing fields for the message generated to the customer in the case of correct and incorrect authorization will open, as well as the header and footer template (in html)
3.4. Click Save and Exit.
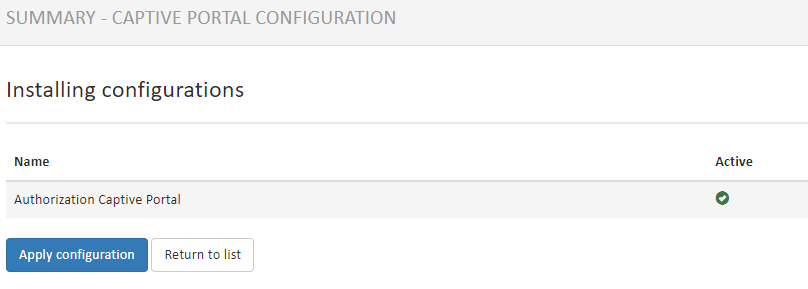
3.5. Click the button:  in the line of the authorization portal and this time select Summary from the drop-down list.
3.6. To enter the changes made during editing: press configuration.
3. 7. Return to the portal list window and click the Captive Portal Global Settings button (upper right corner).
3. 8. Enter the number of hours for the identity authorization validity and save.
You can provide Captive Portal users with access to automatic configuration of end devices. To do this, select End device configurations from the main menu, and then create the necessary configurations. In the next step, go to the edition of the authorization portal and in Login and registration settings, in the Configurations for end devices field, add the created configurations.
Remember to confirm each change in the selected Captive Portal by uploading the configuration (see: 3.6.).
¶ 4. Authorization via SMS (optional)
NACVIEW gives you the option of authorization to the Captive Portal by means of a password sent to the user in an SMS message.
4.1. To configure this setting - first configure the SMS Gateway in the system (manual on our website).
4.2. After properly configuring the SMS gateway, go to the Captive Portal settings. To do this, select Authorization Captive Portal.
4.3. In the table with the list of portals, find the one on the left with the ‘Authorization’ type, click the button:  and select: Edit.
4.4. Now you can see 3 options down below. Click on the 1st one: + Authorization and registration settings and from the drop-down menu find: Password notification type, and in its relevant box select: SMS.
4.5. Save the set values.